I do not own a fancy camera. I take all of my product photos with my phone, usually at my kitchen table, in the light from the window. When I started, my photos looked dark and messy, and I thought I needed better equipment. I did not. I needed a few small habits. Here is what I do now, and it works well enough that people can see what they are actually buying.
1. I use window light, not the ceiling light
Window light is soft and kind to products. Ceiling light makes harsh shadows and yellow patches. I put my product near a window in the daytime and turn off the overhead light. If the sun is too strong, I step back a little from the window or use a thin white curtain. The photo looks natural right away, and I do not have to fix much later.
2. I clear one small space
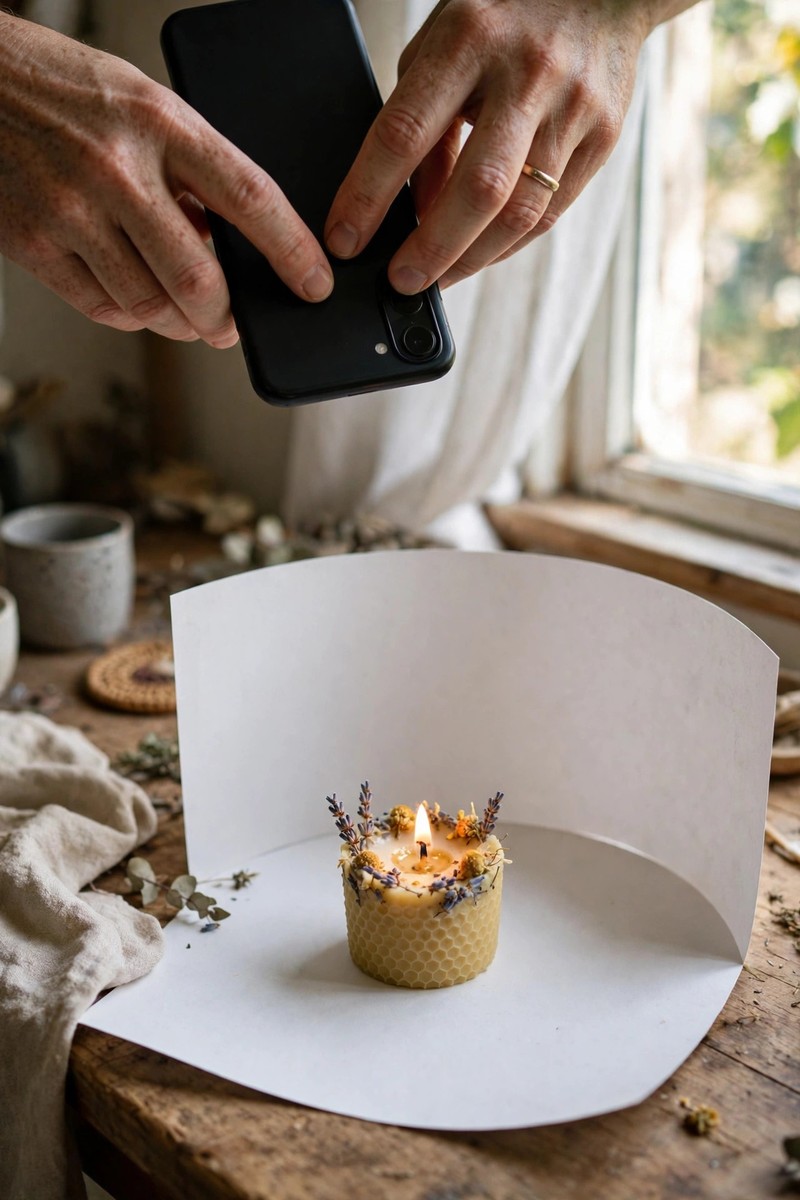
I used to photograph products on a cluttered table, and the eye went everywhere except the product. Now I clear one small space, about the size of a placemat. I use a plain table, a white sheet of paper, or a simple cloth. The background stays quiet, so the product stands out. I do not need a studio. I just need one tidy corner.
3. I wipe the lens and hold the phone steady
This sounds too simple, but it changed my photos more than anything else. I wipe the phone lens on my shirt before I start, because a smudged lens makes everything soft. Then I hold the phone with both hands and rest my elbows on the table. If my hands shake, I lean the phone against a mug or a small stack of books. A steady phone gives a sharp photo.
4. I take many photos, not one perfect photo
I never trust the first photo. I take twenty or thirty photos of the same product from different angles. I take one from straight above, one from the side, and one from a low angle. I move the product a little each time. Later, when I look at them on a bigger screen, I pick the three or four that look clearest. Taking many photos costs nothing, and it saves me from having to set everything up again.
5. I show the size with something familiar
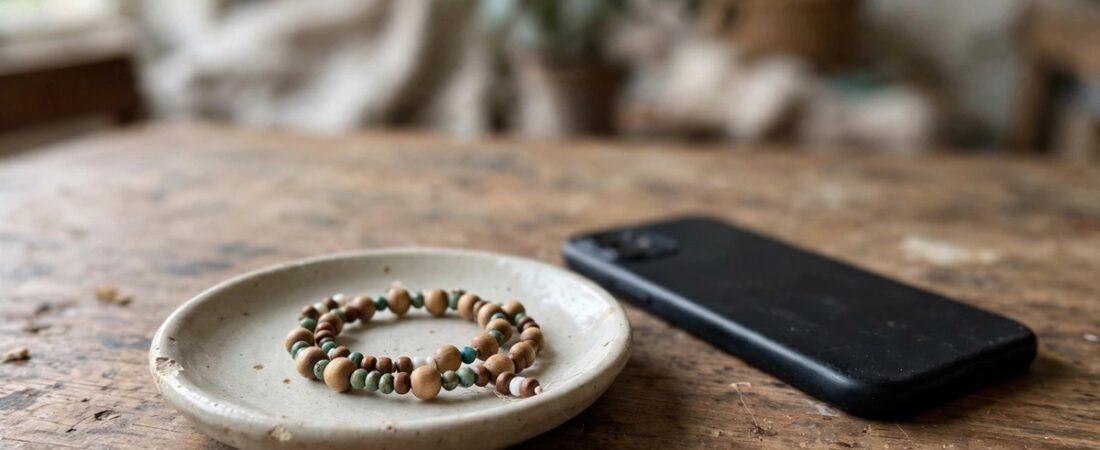
A photo alone does not tell people how big something is. I learned this when someone asked me if a bracelet was for a child, because it looked tiny in the photo. Now I sometimes place a coin, a pen, or my hand next to the product in one photo. It gives people a sense of scale right away. I keep the extra object simple, so it does not steal attention from the product.
6. I show the product being used, not just sitting there
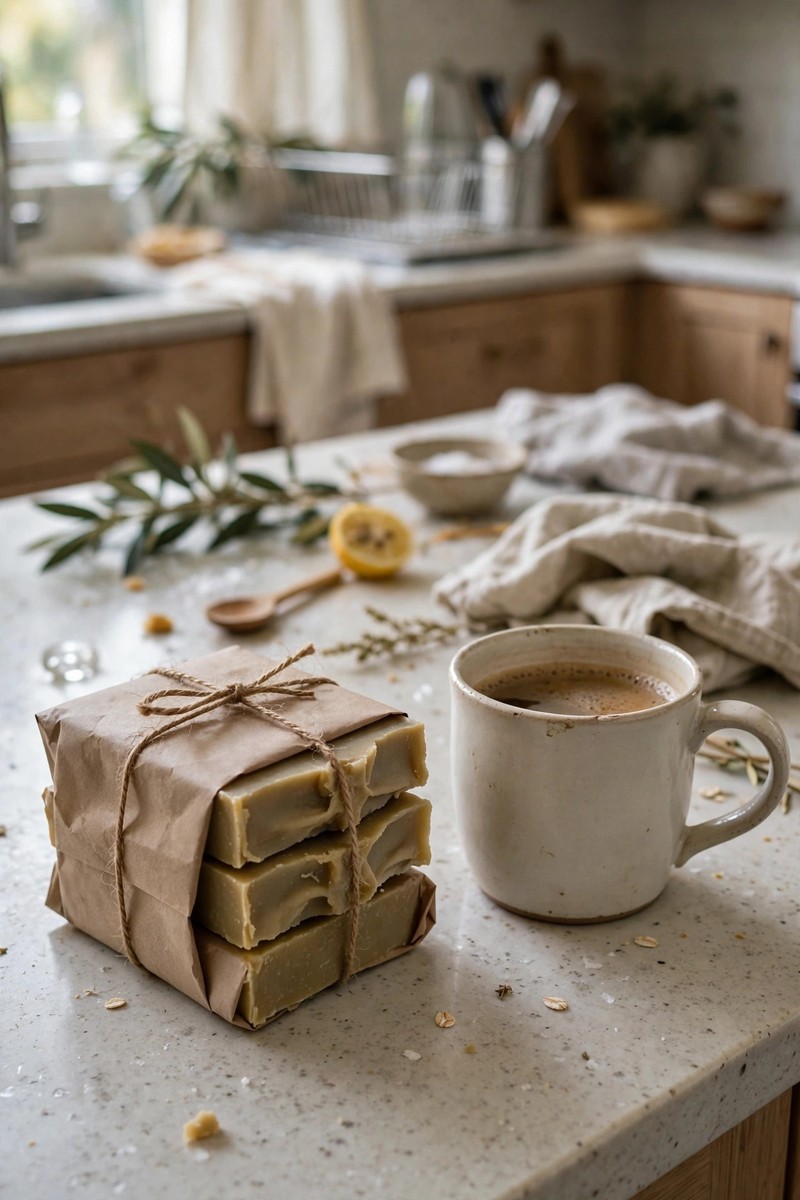
A product sitting alone can look flat. A product in use tells a story. If it is a candle, I photograph it lit on a table in the evening. If it is soap, I photograph it next to a sink with a towel nearby. I do not stage a perfect scene. I just show a normal moment, the way someone would really use it. These photos get the most comments, because people can picture the product in their own home.
7. I edit lightly, and I keep the color honest
I use the free editing tools already on my phone. I straighten the photo if it is tilted, I crop out the messy edge of the table, and I brighten it a little if it looks dark. That is all. I do not change the color of the product, and I do not smooth it out until it looks fake. People trust a photo that looks like the real thing. If the color in the photo is wrong, the buyer will feel tricked when the package arrives.
8. I check the photo on a bigger screen before I use it
Photos look fine on a small phone screen and messy on a laptop. Before I put a photo on my website, I send it to myself and open it on my laptop. I check for blur, for a thumb in the corner, and for anything strange in the background. I caught a photo once with a laundry basket in the background that I had not noticed at all. A two minute check saves an embarrassing post.
Conclusion
Good product photos do not need a big budget. They need daylight, a tidy corner, a steady hand, and a little patience. I still take my photos at my kitchen table with my phone, and they do the job. Start with the product you already have, take a lot of photos, and pick the honest ones. Your buyers will thank you for it.